Setting up Wysiwyg editor + IMCE in Drupal 7
Once you’ve set up your Drupal installation, you will undoubtedly want to start adding contents. The Filtered HTML format works for the most parts, but what if you wanted to add tables or images into your content? Well, that where the Full HTML format comes in handy. But let’s face it, not everyone is a coder, and HTML is pretty much Greek to them (unless you are Greek, of course).
This is where What You See Is What You Get (Wysiwyg) editors come in handy. Wysiwyg editors allow users to write content as they would on any word processor such as Word. You can set the text format, font size and colour of the content and see how it would look like once it’s published. You can also insert tables and images and position them anywhere you’d like within your content (to a certain degree), and you don’t even need to know any HTML to achieve this. The Wysiwyg editor does that for you.
Unfortunately, Drupal 7 does not come with a Wysiwyg editor as standard like, for example, Wordpress does. But that’s OK, because I’m going to show you how to quickly get a Wysiwyg editor up and running in Drupal. This tutorial will also cover instructions on how to set up a file manager to use with your Wysiwyg editor.
Prerequisites
In this tutorial, I will be using Drupal 7.8, although it should also work with any version of Drupal 7. If you’re using an older version of Drupal, like Drupal 6 or earlier, this tutorial is not for you.
These are the modules you will need to get started;
- Wysiwyg
- IMCE
- IMCE Wysiwyg Bridge
- IMCE Mkdir (optional - allows you to create new folders in the IMCE window)
Download the above modules and enable the following. If Drupal asks you to enable additional modules, do so.
- Wysiwyg
- IMCE
- IMCE Wysiwyg API bridge
- IMCE Mkdir
You also need to install at least one type of Wysiwyg editor library. I will be using the CKEditor for this tutorial. Download the files and place them all in “sites/all/libraries/ckeditor”. If you plan to use a different editor, you will find instructions on how to do it later on in this tutorial.
Configuring a Wysiwyg editor
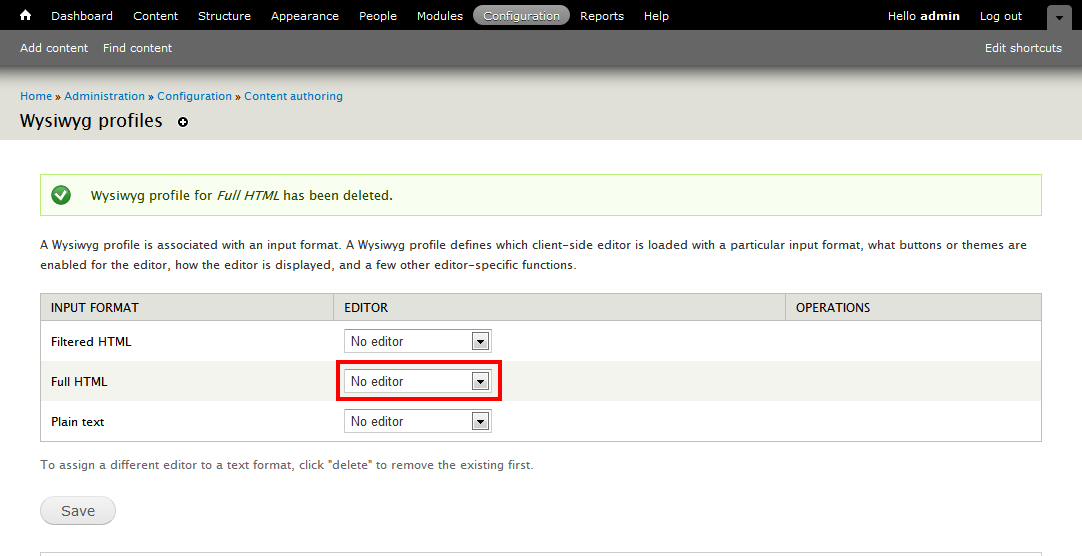
Once you have enabled the required modules, navigate to Administration » Configuration » Content authoring » Wysiwyg profiles and there should be three profiles already available; Filtered HTML, Full HTML and Plain text. The one we’re interested in is Full HTML. Select CKEditor (or whatever Wysiwyg editor you decided to use) from the drop-down menu in the Full HTML row and hit the Save button.
If you’ve decided to use a different Wysiwyg editor, scroll down and expand the Installation instructions tab, and you will find a list of supported Wysiwyg editors as well as instructions on how to install the required libraries to be used with the Wysiwyg module.
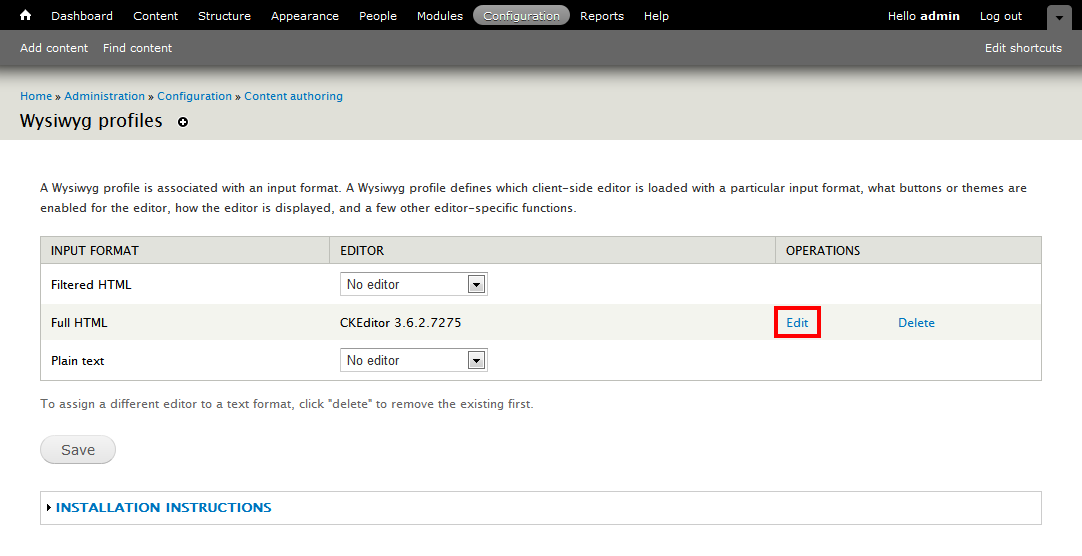
Once you’ve hit the save button, Drupal should take you to the same page and you should see two new items in the Operation column of the Full HTML row, namely Edit and Delete. Select Edit.
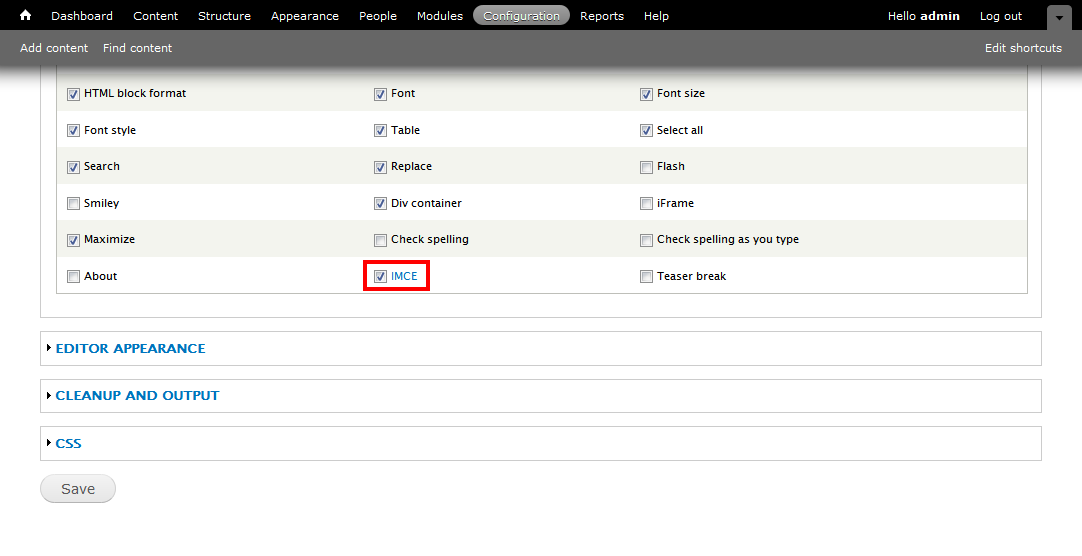
You’ll be redirected to the CKEditor profile for Full HTML configuration page. This is where you configure how your editor will function as well as how it appears. By default, all buttons are disabled, and you will need to enable all the buttons you want to appear in your Wysiwyg editor.
Make sure you enable the IMCE option under Buttons and Plugins so you can use the IMCE file manager with your Wysiwyg editor.
Hit the Save button and we can move on to the next step.
Configuring IMCE
Next, we need to set up IMCE. Navigate to Administration » Configuration » Media » IMCE and you find that IMCE allows you to set up profiles for your users so you can control stuff like allowed file size, allowed file extensions and upload path. A default profile has been set up with the IMCE installation, and you can use this profile as reference for your future profiles.
To edit user profiles, click the Edit button and you will find a whole bunch of settings you can mess around with. I won’t explain the details in this tutorial, and I think the description text describes what each field does pretty well. Once you’re done, click Save configuration to apply changes.
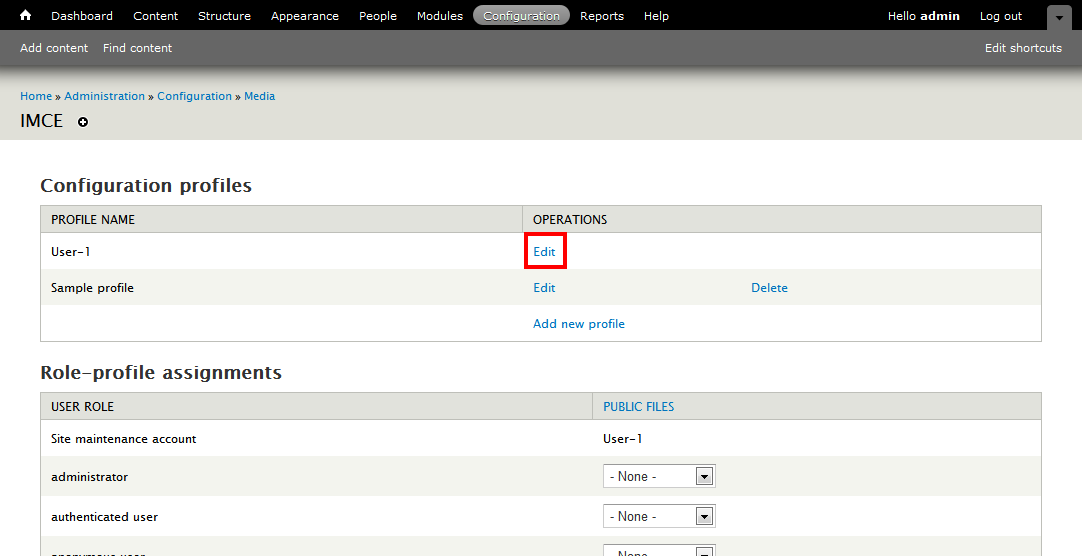
Now navigate back to the IMCE configuration page, and scroll down until you see Role-profile assignments. This is the important part. As the site administrator, you don’t have to worry about which profile you’re using, but you need to set up a profile for your users. So select a profile you’ve previously created and hit Save configuration to save.
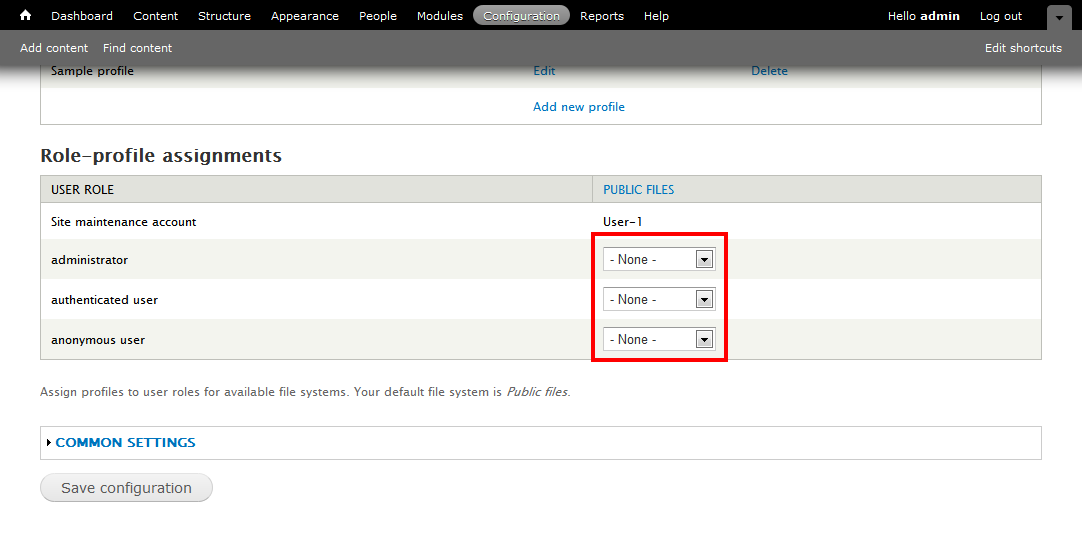
If you’re having trouble with IMCE not working, you could try and enable a profile for the administrator group.
Testing the Wysiwyg editor
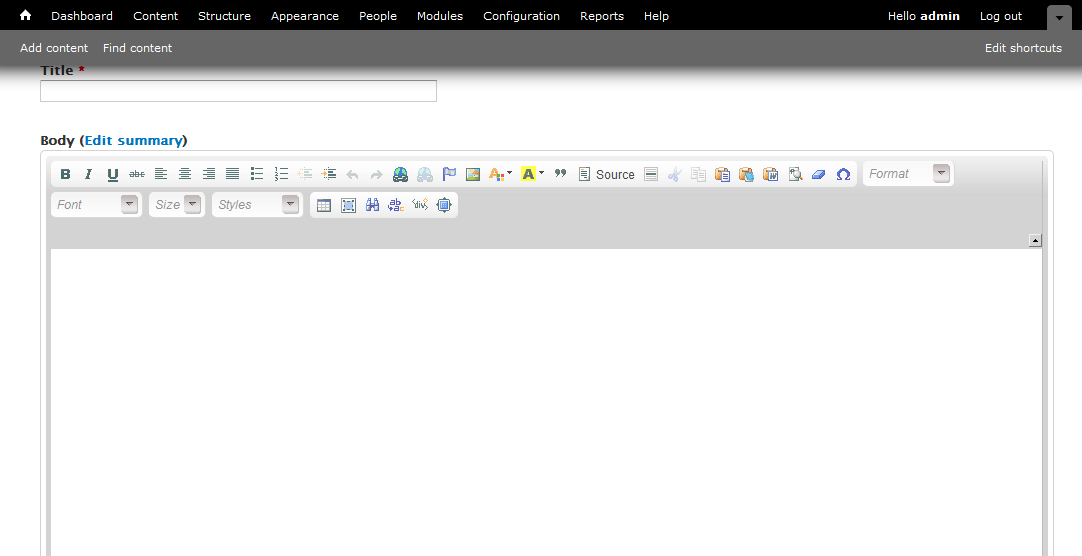
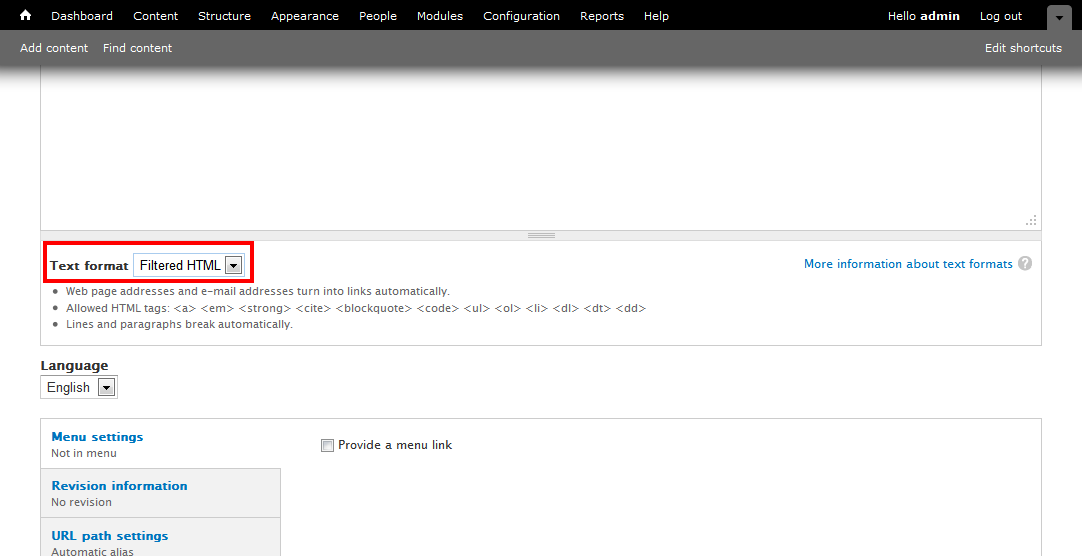
Now it’s time to test the Wysiwyg editor you have just set up. Create a new content, any content, and if you don’t see your selected Wysiwyg editor, don’t panic. Check the text format under the text editor, and chances are it’s set to Filtered HTML. This is because we didn’t select Full HTML as the default text format. Select Full HTML from the drop-down menu and voila, you should see your Wysiwyg editor appear.
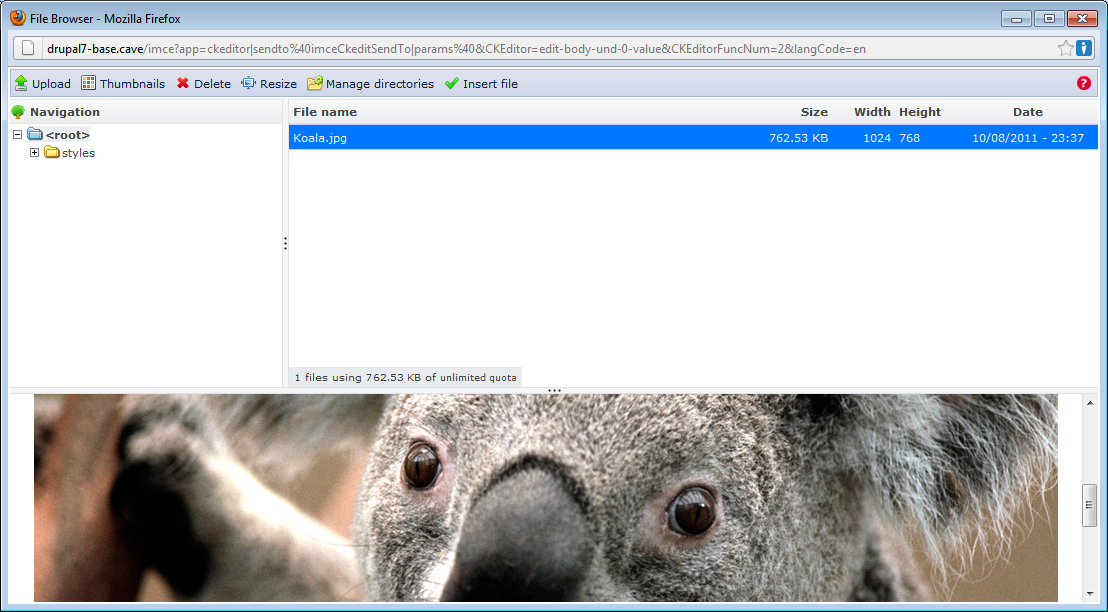
Next we have to check to see if the file manager is working. Click the Image button, and a new dialog box should pop up. You should see a button named Browse Server, which will allow you to, browse the server for image files. Click that button and the IMCE file browser window will appear. You may select an existing image, if any, to insert into your content, or upload a new image file using the Upload button. IMCE didn’t come with a create directory feature, so if you remember we installed the IMCE Mkdir module that allows us to do this.
Final words
Wysiwyg editors are great if you’re not familiar with HTML and CSS. I personally don’t use it as often, mostly because I find Wysiwyg editors tend to append additional unnecessary code. But I’m not going to start ranting about that now. This tutorial is just to show you how easy it is to get Wysiwyg and IMCE working on Drupal 7.
I think I’ve covered most steps on how to get the Wysiwyg editor and IMCE file manager working. But if you feel that I’ve missed something, please feel free to let me know in the comments below.
Wassalam