Using Git hooks to enforce development policies
I was recently asked to automate some front-end checks that ensures the code our developers commit to the repositories are in line with the project standards. This ensures that our code is uniform across all our projects, and prevents comments like “please fix linting” in pull requests.
One of the other teams have been using Husky for some time, and while they seem to really like it, I wasn’t convinced. I didn’t understand why I would need to use a separate package to achieve what can already be done using Git hooks. I felt that it was overkill for what we needed it for, especially since the setup is laborious compared to Git hooks.
There are two tasks I want to run before allowing Git commits to take place - linting, and unit testing. We didn’t want anyone to commit anything that would just end up failing at the CI build step.
Setting up linters
We use a combination of ESLint and Prettier for code linting in our projects. One to check for potential functional issues, and the other to ensure uniform formatting across our codebase.
As for the runner itself, we went with lint-staged, since it does the job well enough, and writing our own shell script is just a waste of time. So make sure you install that in your project.
// src/MyProject/package.json
{
  "optionalDependencies": {
    "lint-staged": "^12.3.2"
  },
  "lint-staged": {
    "*.{js,ts,vue}": [
      "prettier --write",
      "eslint"
    ],
    "*.{css,scss}": [
      "prettier --write"
    ]
  }
}
Setting up the pre-commit Git hook
- Create a folder in the root of your repository, and name it
git-hooks. - Create a file in that new folder, and name it
pre-commit. This is important, because the file name needs to match the naming convention defined in the Git hooks manual. - Paste the following code block as the content for the
pre-commitfile you just created. The comments describe what each step does.
# git-hooks/pre-commit
#!/bin/sh

# Set path for access to global executables like npm/npx
PATH="/usr/local/bin:$PATH"

# Helper for those using NVM so it points to the correct path
if [ -f $HOME/.nvm/nvm.sh ]
then
    . $HOME/.nvm/nvm.sh
    PATH="$HOME/.nvm/versions/node/$(nvm current)/bin:$PATH"
fi

# cd into project folder, run lint-staged and then run unit tests
cd src/MyProject && npx lint-staged && npm run test
- Make the file executable. If you’re on Windows, you can do this using the Bash command line.
chmod +x
- Update the Git hooks path. This lets your Git client know where to look for hook files.
git config core.hooksPath ./git-hooks
This command can also be added to the project’s package.json file as a postinstall script. This way, other devs who pull the repo can have their project configured when they run npm install.
// src/MyProject/package.json
{
  "scripts": {
    "postinstall": "git config core.hooksPath ./git-hooks"
  }
}
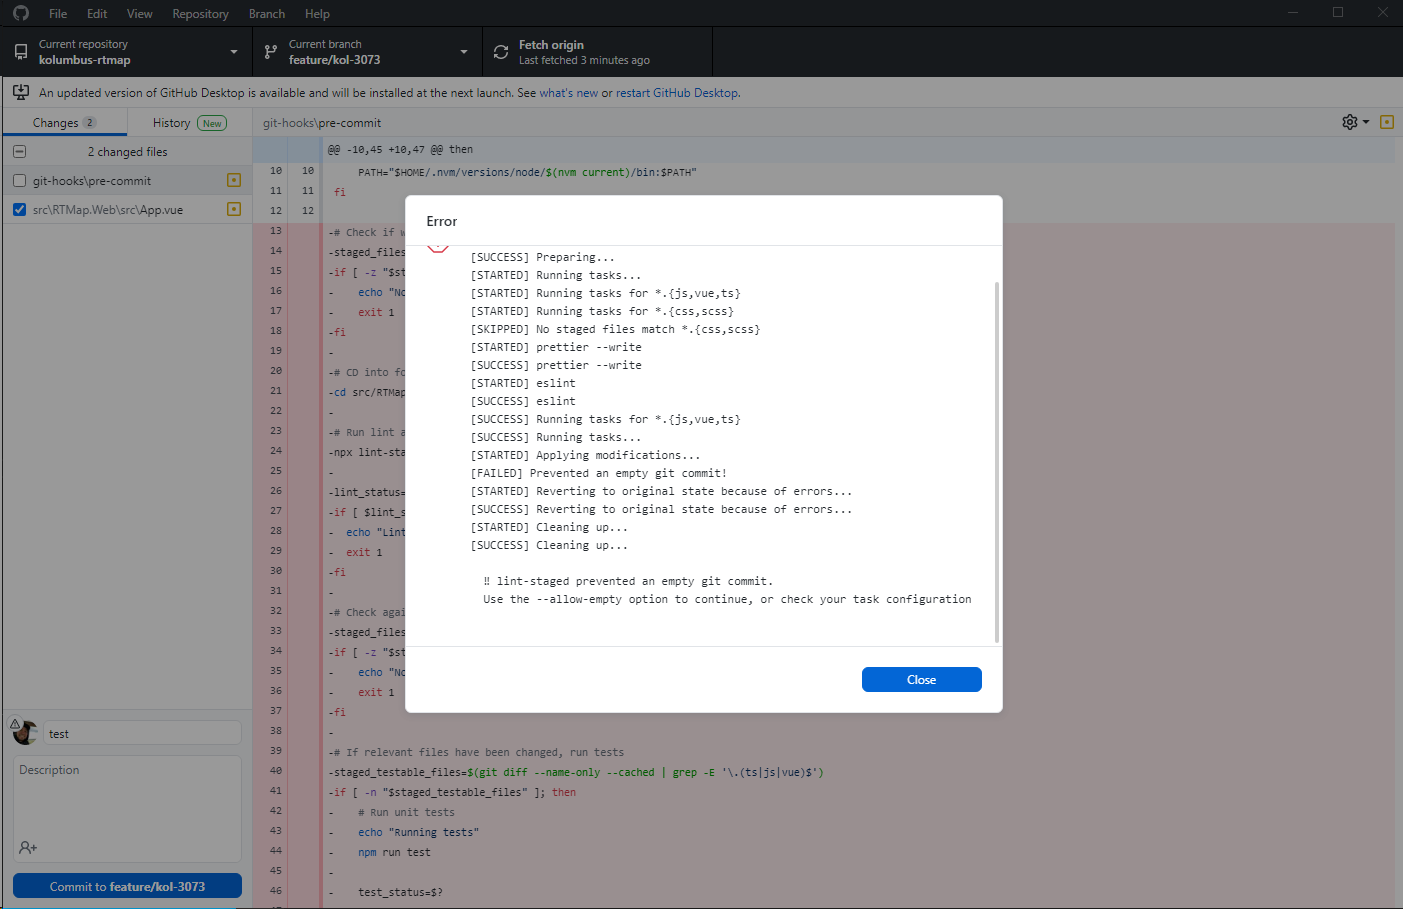
That’s it. Now every time someone tries to commit anything to your repo, Git will automatically execute the lint task and run the unit tests.
FYI, if you want to bypass this, and any other checks when committing your code, you can always use the --no-verify flag. But that would make you evil.
Potentially obvious questions
Why not just use Husky?
Like I’ve mentioned above, Husky is yet another dependency that requires some elaborate setup to get going, and does not bring anything useful to the table. Git hooks is more than enough for the stuff we needed done.
Additionally, one of my colleagues pointed out that Husky was failing when he tries to commit using the GitHub Desktop app on Windows. Several issues have been opened for this on both the Husky and the GitHub Desktop app repositories.
- https://github.com/typicode/husky/issues/1072
- https://github.com/desktop/desktop/issues/12562
The technique described in this post works just fine in the GitHub Desktop app on Windows 10.
This is not to say that I will never use Husky. I will consider using it if there’s compelling enough reason for me to do so.
Why use a git-hooks folder instead of .git/hooks?
I’ve tried that, but immediately noticed that any changes made to the .git folder does not get picked up by Git. I didn’t know how to get to work, and I didn’t want to waste my time when this solution works just as well.
Does this work with multiple projects within the same repo?
That’s a good question. This post does not cover that, but stay tuned for future posts that will cover this topic.
If you have any questions about this topic, feel free to ask in the comments below.